#
Centos8
title: How to Install and Configure Samba on CentOS 8 label: Samba Install and Setup order: 100 authors:
- name: Charl Cronje email: charl@webally.co.za link: https://blog.webally.co.za avatar: https://assets.webally.co.za/avatars/darker.jpg edit: repo: "https://github.com/charlpcronje/setup.docs.devserv.me/edit/" base: /src branch: main label: Edit on GitHub editor: enabled: false favicon: favicon.png links:
- text: Projects Portfolio link: https://webally.co.za/projects
- text: Wiki, Tips and Docs link: https://docs.webally.co.zao.za
- text: Resume link: https://cv.webally.co.za
- text: LinkedIn link: https://www.linkedin.com/in/charlpcronje
- text: GitHub link: https://github.com/charlpcronje
- text: Upwork Profile link: https://www.upwork.com/freelancers/~01ccb1439024ec9c50 footer: copyright: "webAlly © Copyright . All rights reserved."---
#
1. Install samba and necessary packages
Log into your server and run the command below to install Samba and its dependencies.
sudo dnf install samba samba-common samba-client
We must also ensure that the Windows and Linux system are in the same workgroup. So, go to your Windows PC and launch command prompt. Type the command:
From the output, we can clearly see that the workstation domain points to ‘WORKGROUP’.This will also be configured later on the Linux machine.

#
2. Configuring Samba
Having installed Samba, it’s time to make a few configurations. But before we do that, we need to back up the samba config file. So, run the command below:
sudo mv /etc/samba/smb.conf /etc/samba/smb.con.bakNext, we are going to create a shared folder called shared and assign the necessary permissions and ownership as shown.
 sudo mkdir -p /srv/samba/shared
 sudo chmod -R 0755 /srv/samba/shared
 sudo chown -R nobody:nobody /srv/samba/shared
 sudo chcon -t samba_share_t /srv/samba/shared
Now create a new samba configuration file
sudo vim /etc/samba/smb.confAppend the configuration below:
[global]
workgroup = WORKGROUP
server string = Samba Server %v
netbios name = centos-8
security = user
map to guest = bad user
dns proxy = no

[Anonymous]
path = /srv/samba/shared
browsable =yes
writable = yes
guest ok = yes
read only = no
Save and close the configuration file. To verify that the configuration is sound, run testparm command
testparm
#
3. Allow samba service on the firewall
Next, allow Samba across the firewall so that outside users can access samba shares.
sudo firewall-cmd --add-service=samba --zone=public --permanent
sudo firewall-cmd --reload
#
4. Start and enable Samba services
sudo systemctl start smb
sudo systemctl enable smb
Then confirm if smb service is running:
sudo systemctl status smb
#
5. Accessing Samba share from windows machine
From your Windows PC, press Windows Key + R to launch the Run dialog and type
\\hostname-of-samba server
OR
\\IP-address-of-samba-server

This opens a window below with an ‘Anonymous’ folder.
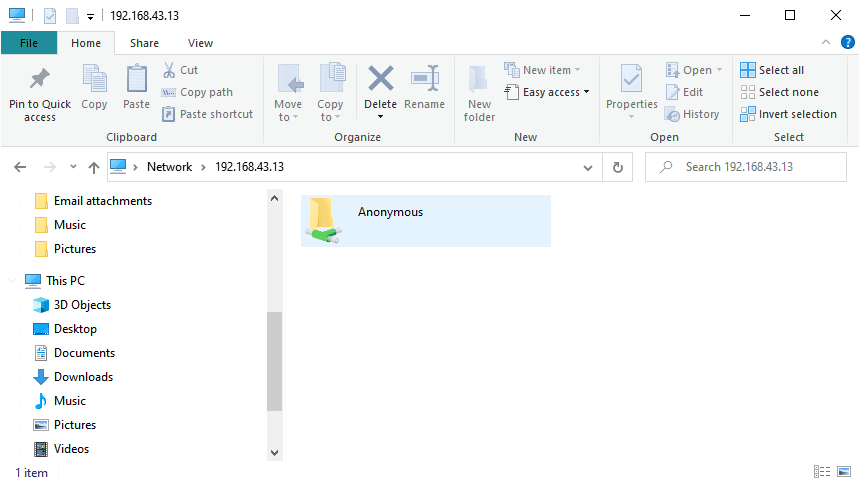
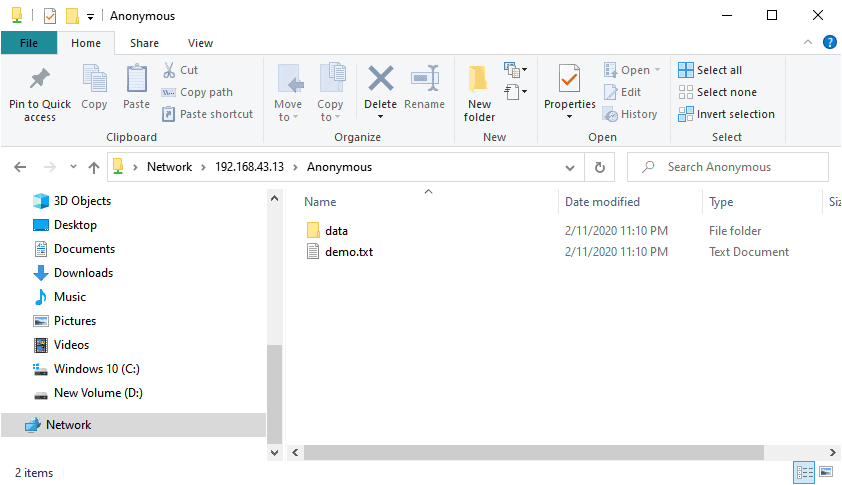
You can create files either from Samba server or from the client and share it with other users

#
Creating secure shares in Samba
sudo groupadd secure_groupThen we shall add a new user to the newly created group
sudo useradd -g secure_group linuxuserNext, we are going to create a new secure folder and later assign the necessary permissions and file ownership as shown below .
sudo mkdir -p /srv/samba/secure_share
sudo chmod -R 0770 /srv/samba/secure_share
sudo chcon -t samba_share -p /srv/samba/secure_share
sudo chown -R root:secure_group /srv/samba/secure_share
Next, we will assign the samba user a password that will be used when accessing the secured file share. This will prompt you to provide a SMP password and later confirm it.
sudo smbpasswd -a linuxuser
Now let’s head back to Samba’s configuration file
sudo vim /etc/samba/smb.confAppend the config lines shown below:
[secured]
path = /srv/samba/secure_share
valid users = @secure_group
guest ok = no
writable = yes
browsable = yes
Save & exit and then restart Samba service
sudo systemctl restart samba
#
Accessing the Samba secure folder from a Windows System
Again, to access Samba share from your windows system hit Windows Key + R to launch the Run dialogue. Type \\hostname or \\ samba-IP and hit ENTER.

You’ll now notice that we have another folder called secured.

To access it, double click on it and a login pop-up will prompt you for your username and password credentials.

Once done, click on the OK button or simply hit ENTER to access the contents of the folder

#
Accessing the Samba secure folder from a Linux machine
To access the shared directories from a Linux system, simply run the command:
smbclient --user=linuxuser -L //192.168.43.13Provide the password when prompted and hit ENTER

To access the secure share run
smbclient //192.168.43.13/secured -U linuxuser
Feel free to create files and directories to share with other samba users.